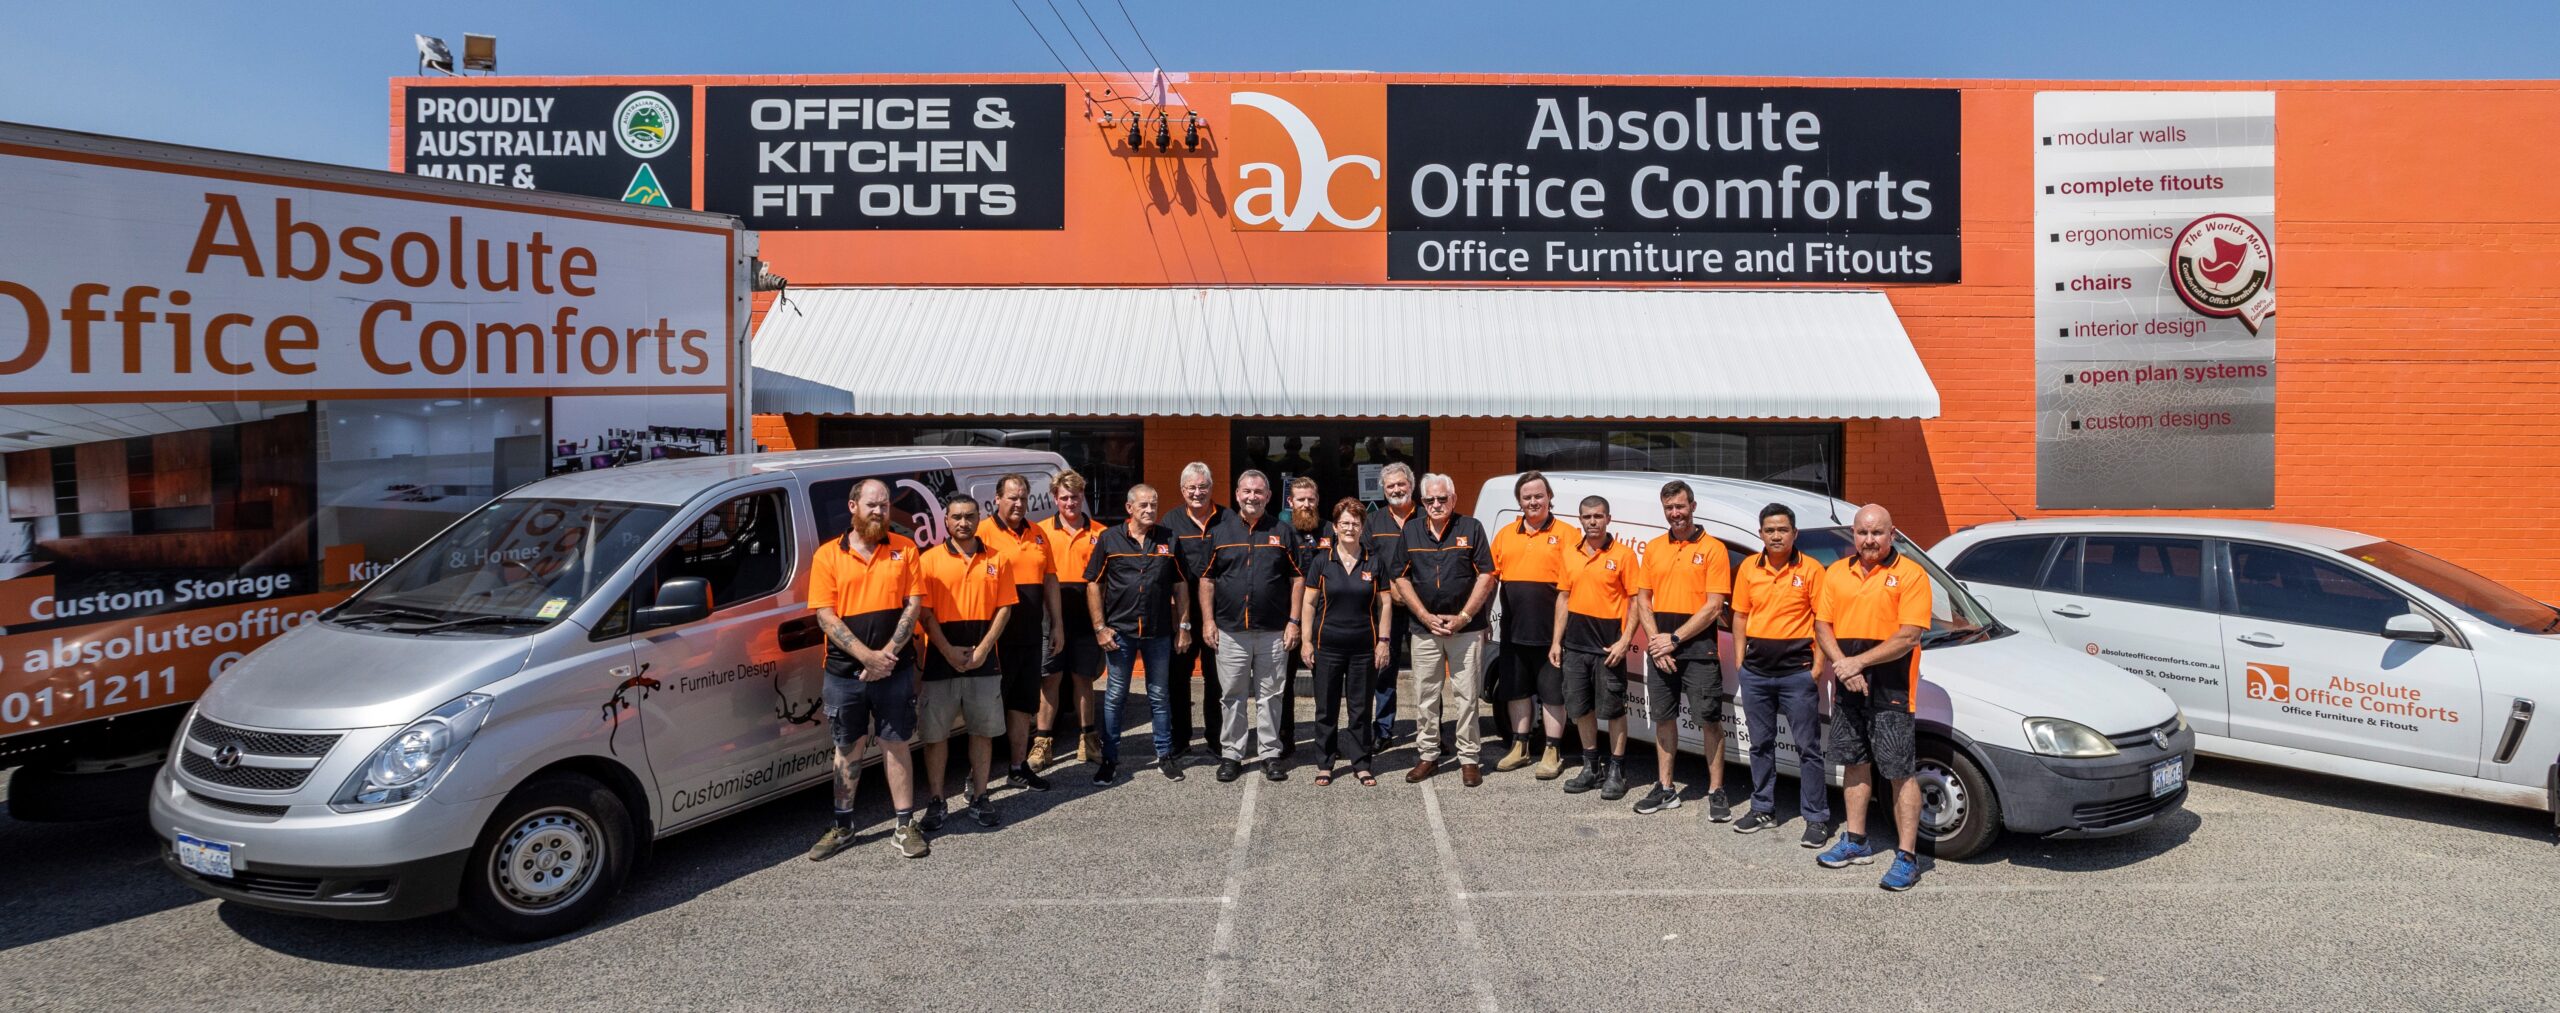
Over many years, we and the team at Absolute Office Comforts have honed our process for creating the
ideal workspace for our clients. This step by step guide to your office fit out will walk you through how we create a
tailor made workspace for our clients’ business and staff…and how you can do the same.
Step 1. Initial inquiry information
To start off with, we’ll go through the options for fitting out your office. We can help you choose
ready made or custom made furniture, colours, sizes, and quantities. We can also work out
construction and delivery times as well.
Step 2. Designing your interior
Many people like to see how things will look before committing to any one design. At this point
in the process we can create a basic floor plan for you to look at. We can also create a 3D floor
plan which you can ‘walk through’ on computer to get a better feel for how it’s all going to turn
out.
You can also consult with our interior designer to help you co-ordinate all the details to create a
coherent, well themed office space project.
Step 3. Planning the layout
Once we’ve worked out some design parameters we can then plan your office layout. This may
include a visit to your premises, gaining access to floor plans and providing either simple or in
depth drawings of what you may require.
Step 4. Consider the details
On our plan we must consider a number of details;
• What size are the skirting boards if any?
• Any window or door frames which may interfere with the furniture positioning
• Where are the power and data outlets? Do they be need to be moved or do we need to
design the furniture around these points?
• Will power ducting or trays be required?
• Positioning of lighting and air conditioning equipment
• Availability and positioning of emergency lighting, fire equipment and exit signs
• Are walk ways and doorways the approved sizes to satisfy building regulations
• Are disabled facilities required?
• We can also obtain Design Compliance Certificates for Building Permits if needed
Step 5. Confirming the plan and payment details
When we’ve worked out your plan and design to your satisfaction, we ask you to sign off on it.
Before proceeding with the project we ask you to pay up to 50% on the overall cost as a deposit.
Depending on the project size we may determine further progress payments as the project
continues.
We agree that after the project has been completed, we will together check off all details to
your expectations before you pay the final 10% of the payment. We agree to put in writing any
variations to the original plans and add onto the overall project.
Step 6. Supplies, stock and materials
We begin ordering the materials for your project. We work out a lead time for the manufacture
and installation of the project with you. Our typical lead time is 4-6 weeks, depending on the
project. Continually throughout this period we will keep you informed of the progress of the
project and also work in with you where needed.
Step 7. Manufacturing and installation
Installation begins once we’ve got everything ready to go. We liaise with contractors through
this period to ensure everything goes smoothly for you. Once installation is complete we inspect
the final product with you, piece by piece. If anything is not as you expected or described, it will
be rectified as quickly as possible. When you’re totally satisfied we ask you to sign off on the
finished project and make any final payments.
Step 8. We’re still available after the job is done
We are available to you in the following months to rectify any problems which may arise that
were unforeseen in the original planning.

